> ## Documentation Index
> Fetch the complete documentation index at: https://docs.photalabs.com/llms.txt
> Use this file to discover all available pages before exploring further.
# Use cases
> Explore what you can build with the Phota API -- editing, generation, enhancement, and remixing with identity preservation
export const API_REFERENCE_URL = "/api/quickstart";
The Phota API provides four core capabilities. Each one can optionally leverage trained [profiles](/guides/profiles) to
preserve the identity of specific people in the output.
***
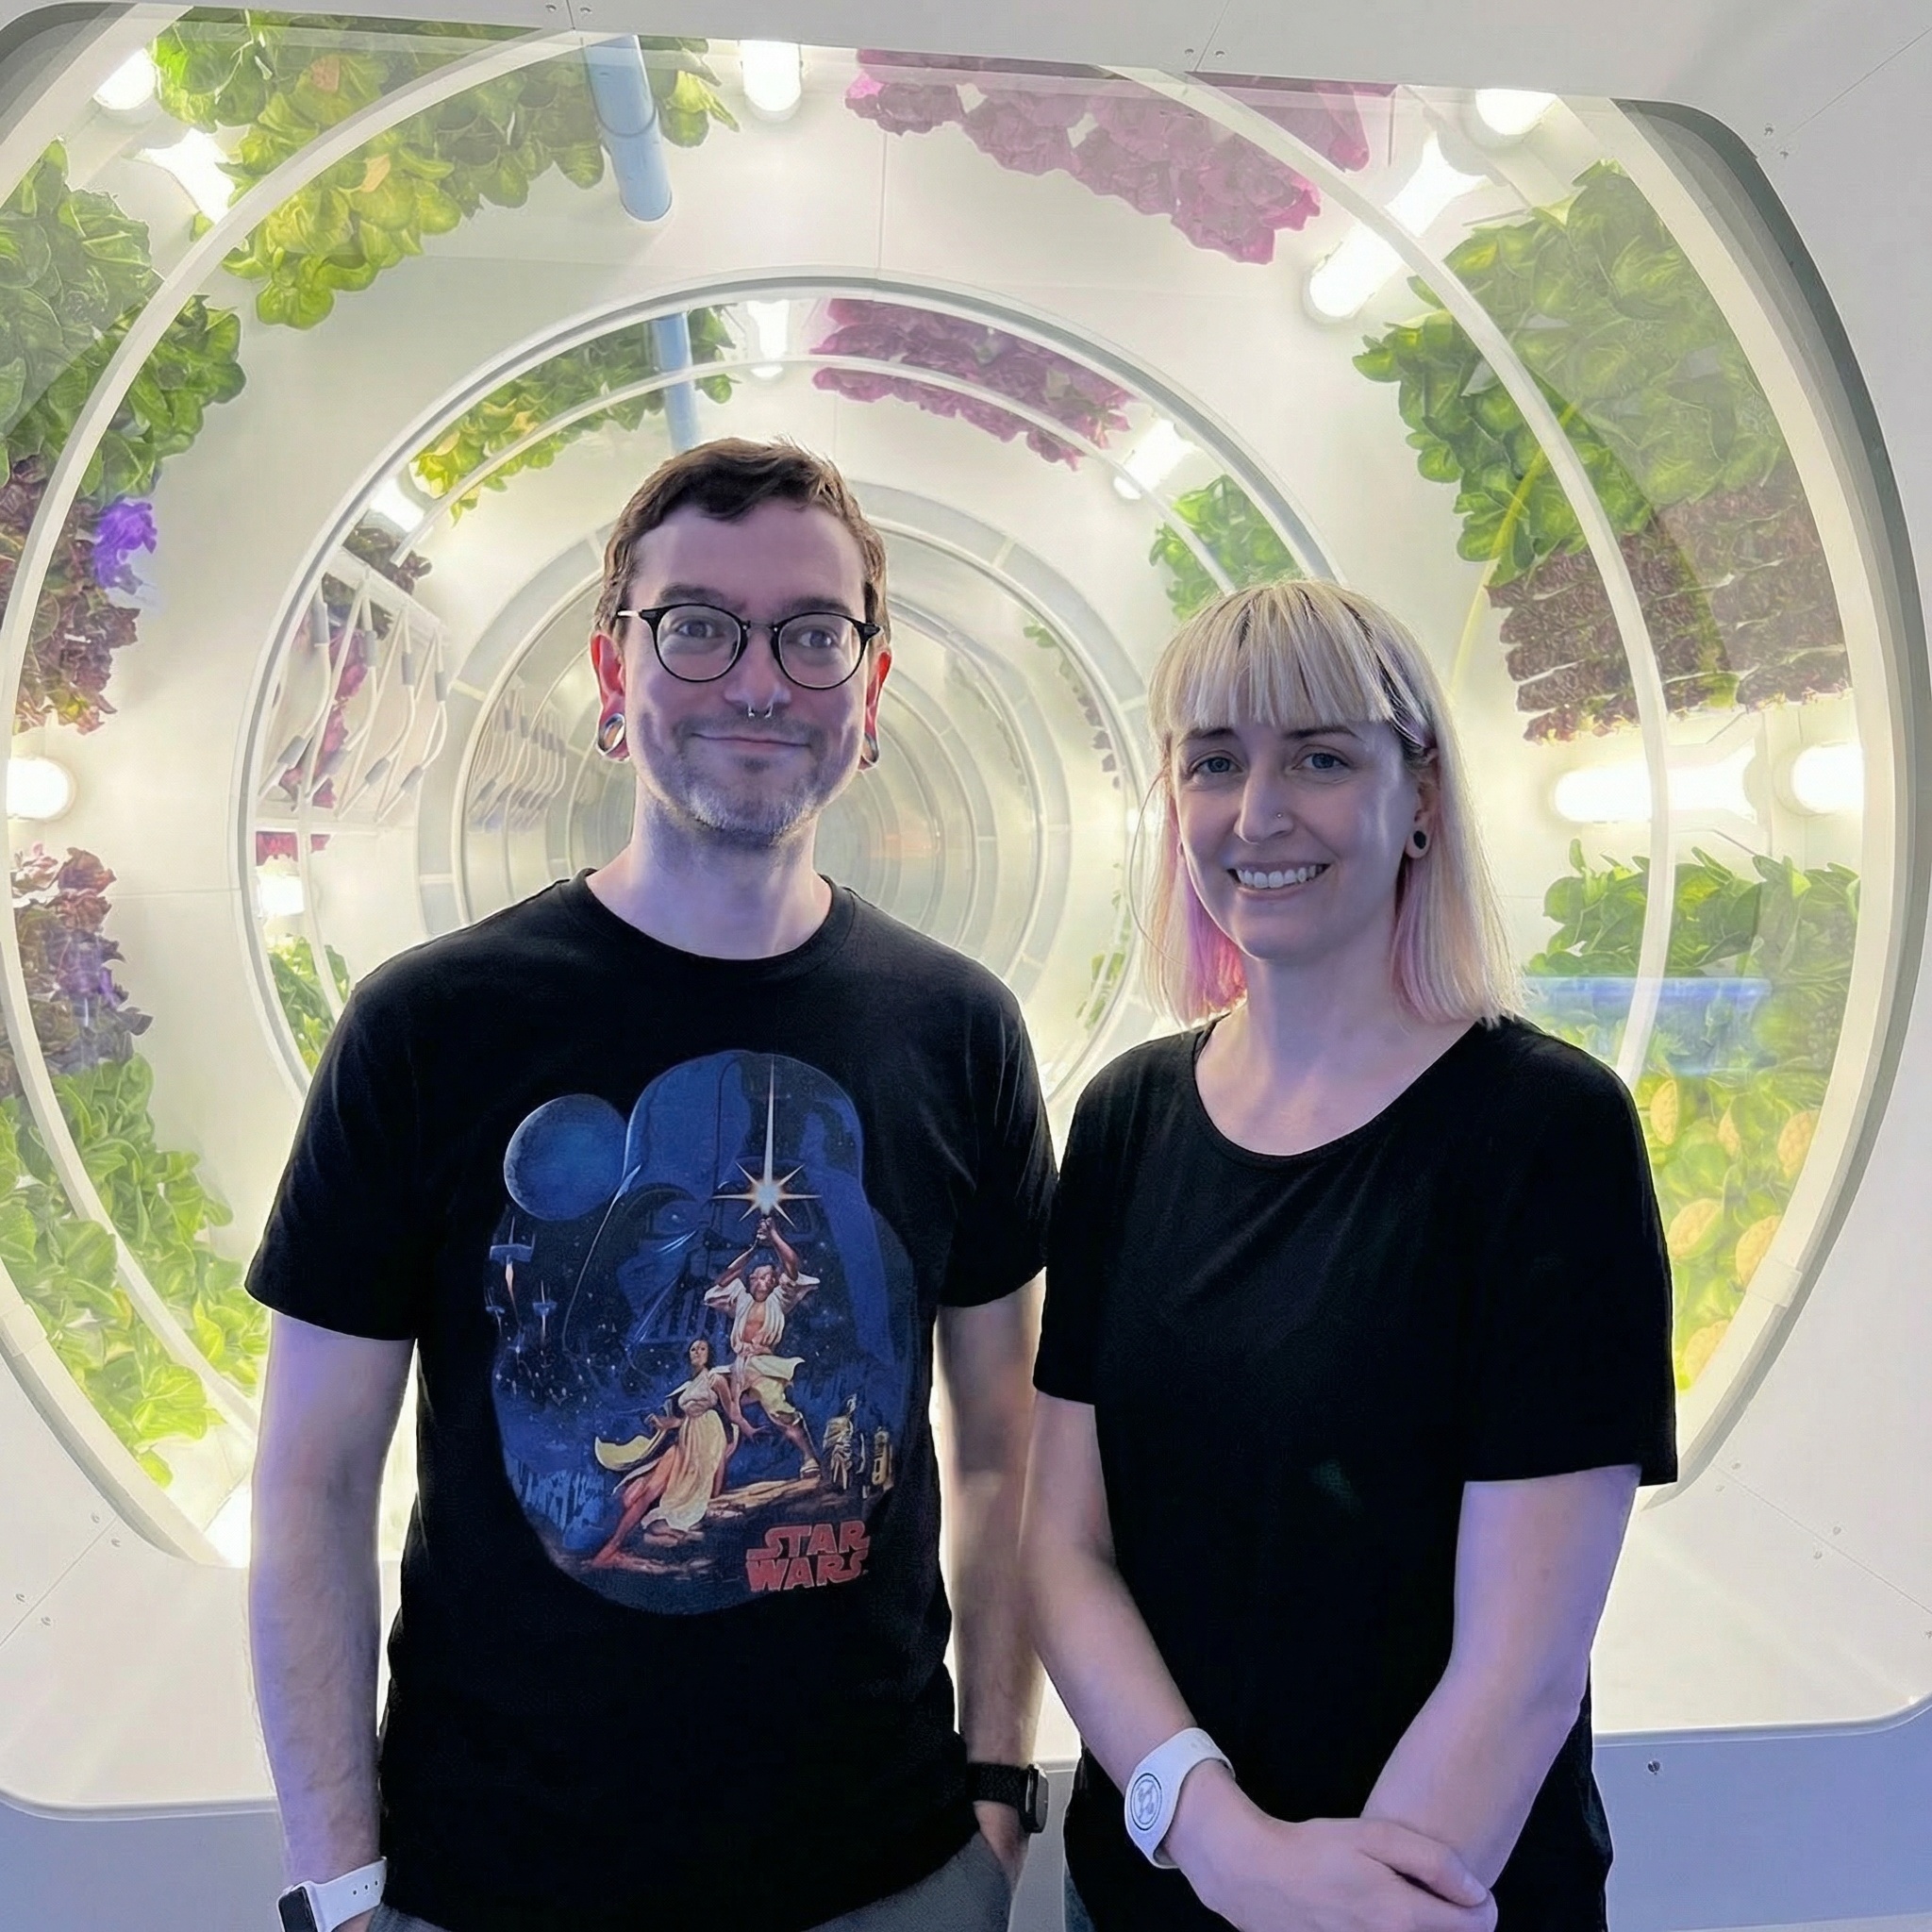
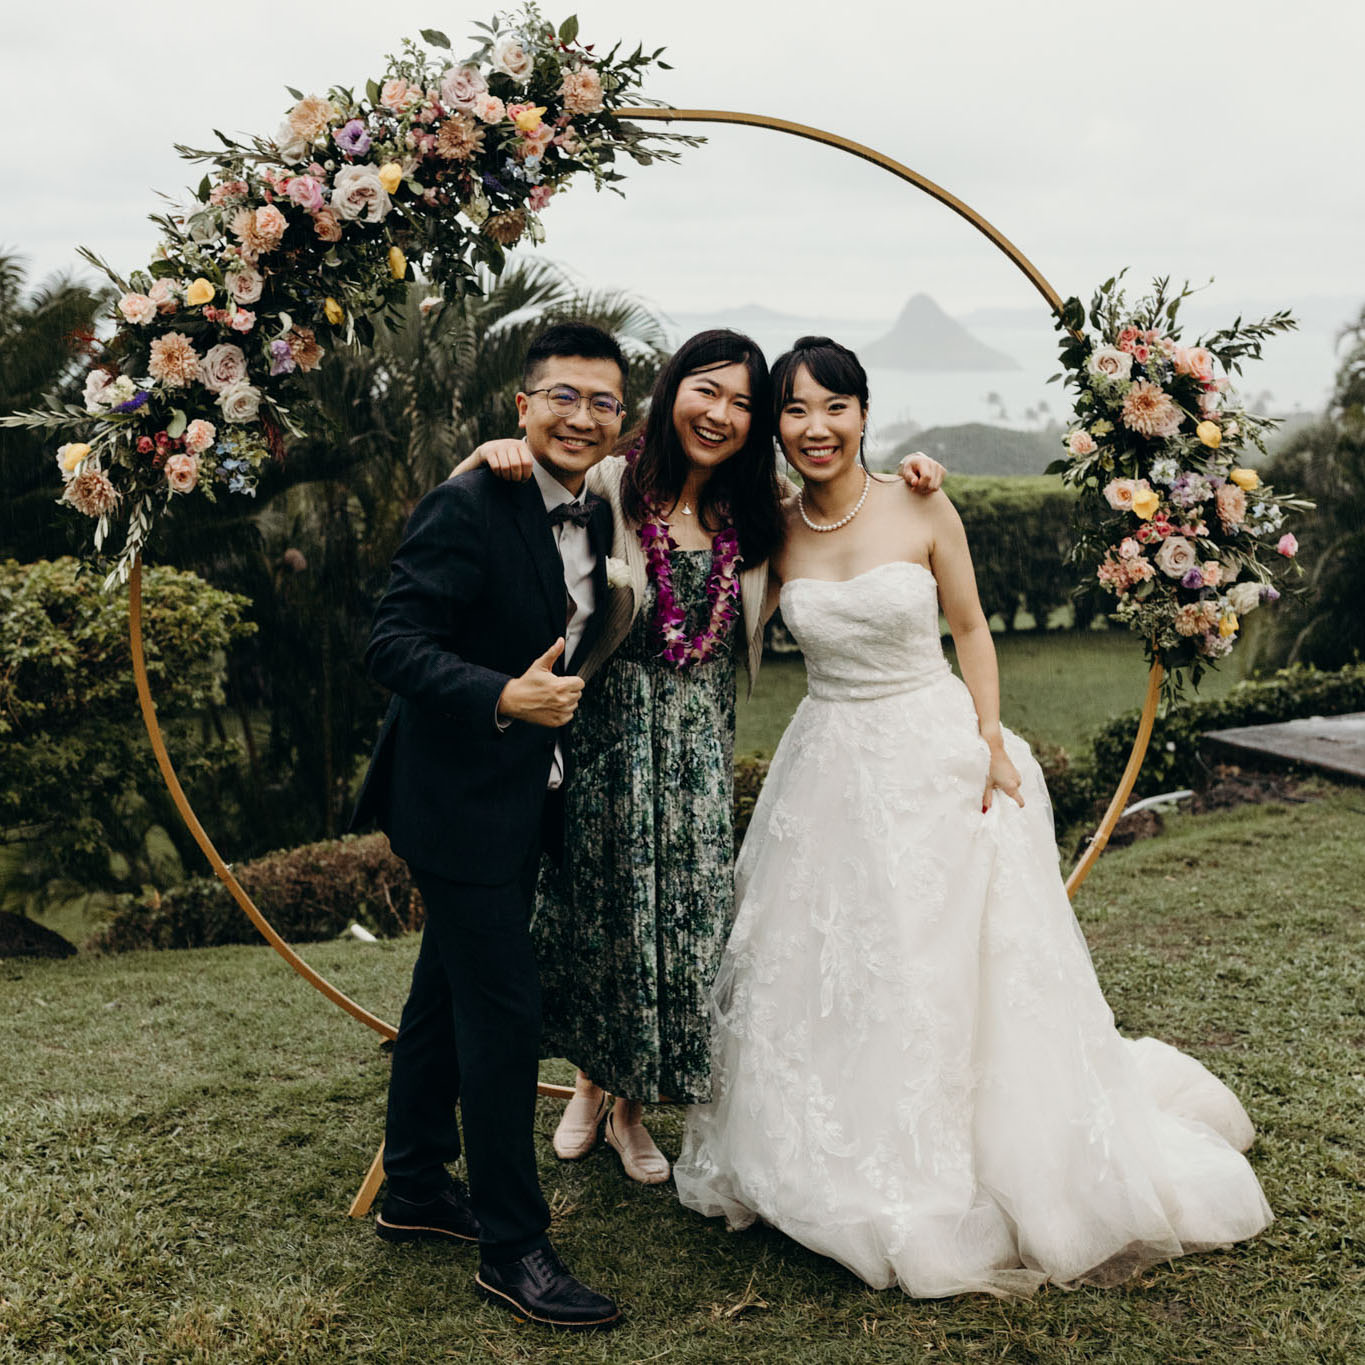
## Edit -- transform existing photos
The `/edit` endpoint takes one or more input images and a text prompt, then produces a transformed version. When you
reference a profile, the person's identity is preserved even through dramatic transformations.
**When to use it**: adding or removing people from group shots, adjusting camera angle or lighting, restyling scenes
and backgrounds, creating seasonal or themed variations - anything where the edit needs to look like the real person.
**How profiles help**: pass the user's profile IDs in `profile_ids` so the API knows which identities to preserve. The
API matches the people in the input photo to the provided profiles automatically. You can also use `[[profile_id]]` in
the prompt to reference a specific person explicitly, e.g. `"Make [[abc123]] smile wider"`.
**Example request body**:
```json theme={null}
{
"prompt": "Make [[abc123]] smile wider",
"images": ["https://example.com/photo.jpg"],
"profile_ids": ["abc123"], # Optional, since profile_ids is mentioned in the prompt
"base_model": "nb2", # Optional, defaults to "nb2" (Nano Banana 2)
"aspect_ratio": "1:1",
"resolution": "4K",
"num_output_images": 2,
"output_format": "jpg"
}
```
You can control the output aspect ratio (e.g. `"9:16"`) and resolution (up to `"4K"`) on every request. See [Best practices](/guides/best-practices#use-aspect-ratio-and-resolution-controls).
Switch the underlying image model per request with `base_model`. See [Base model selection](/guides/base-models) for
the supported values.
***
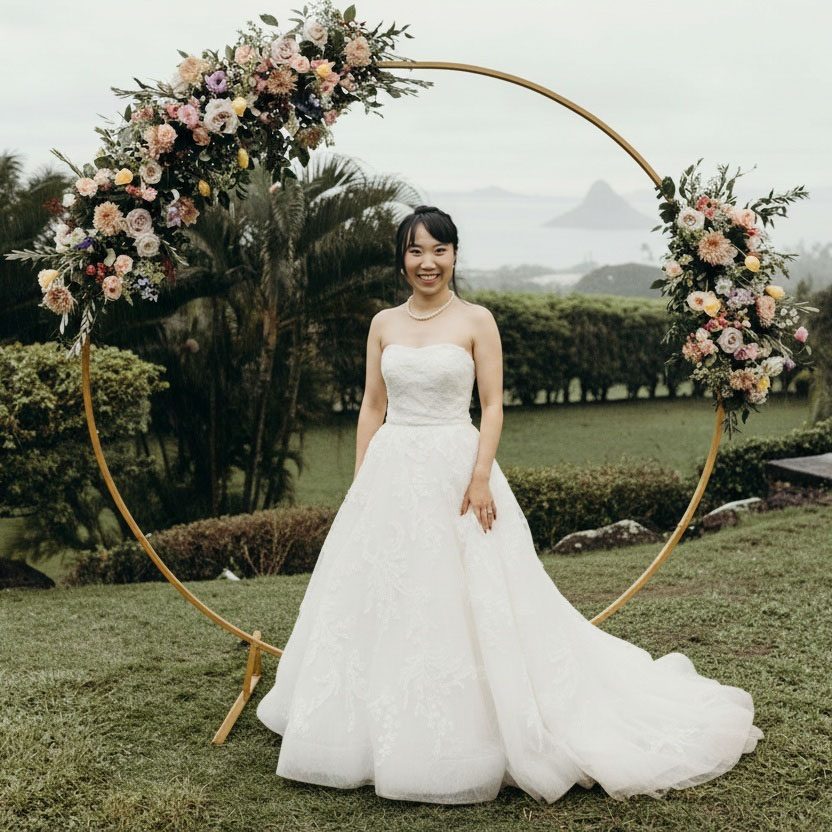
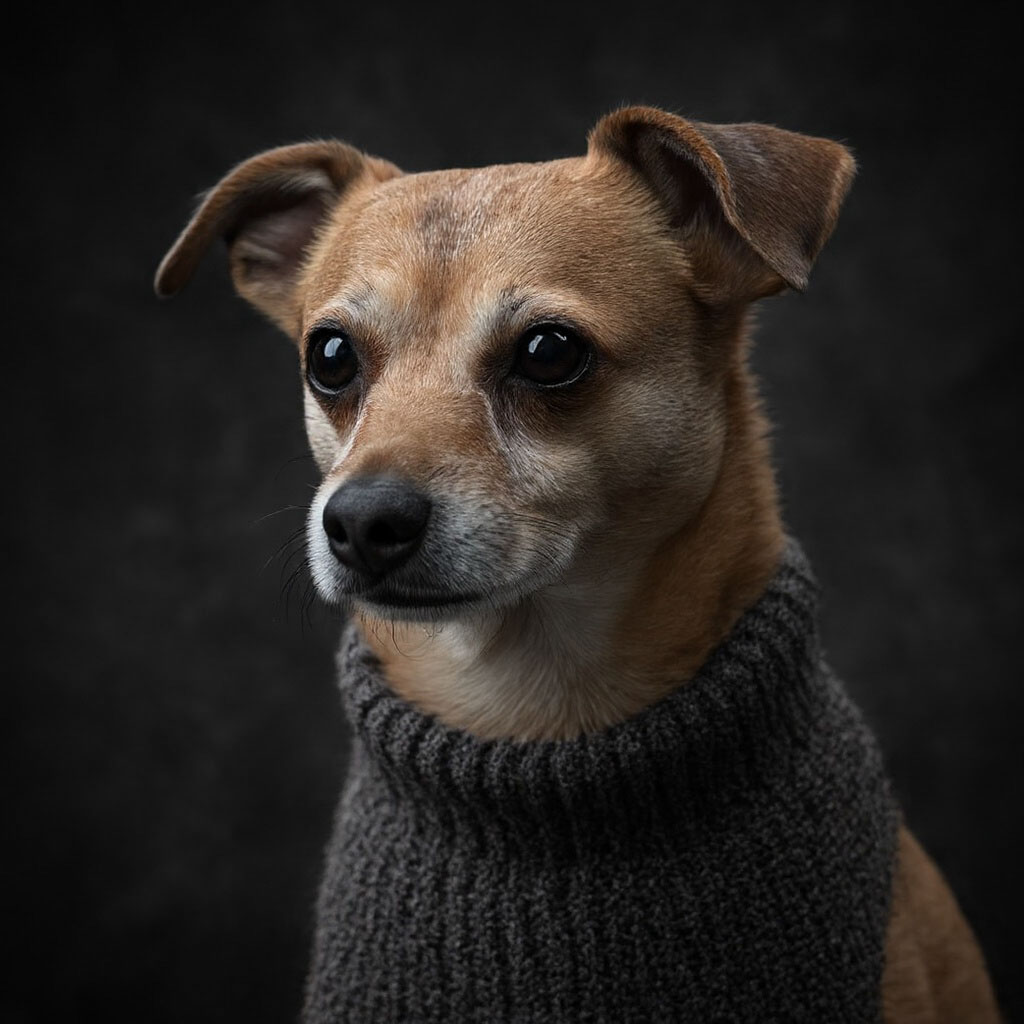
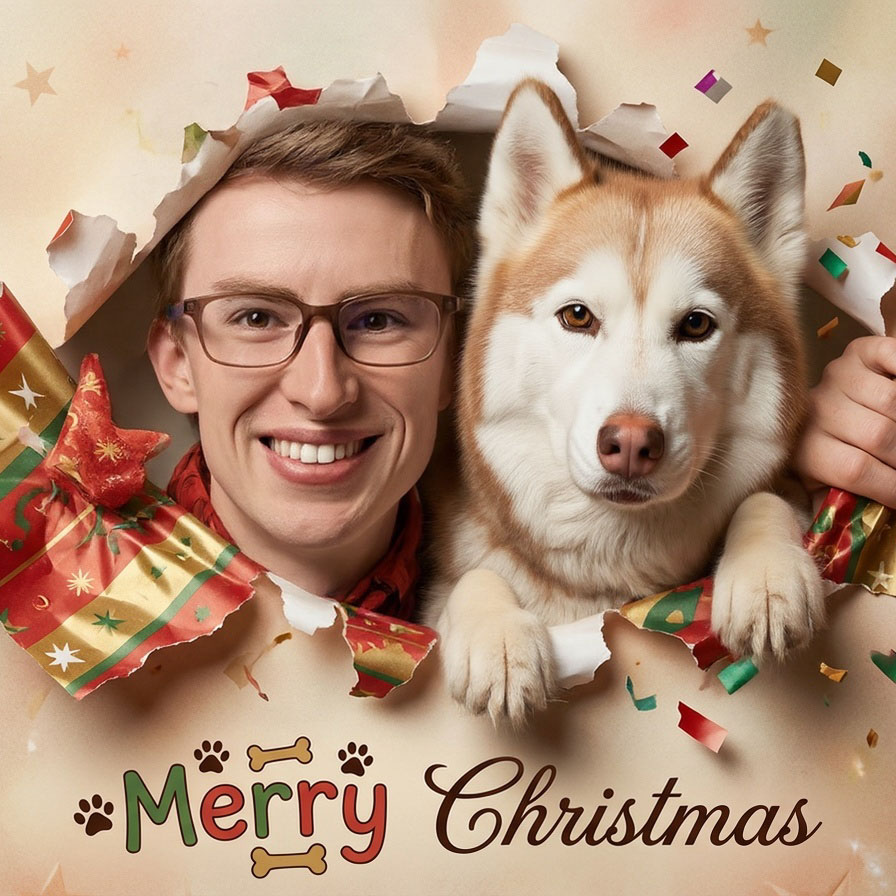
## Generate -- create new images from scratch
The `/generate` endpoint creates images from a text prompt alone -- no input image is needed. When you reference a
profile, the generated person looks exactly like the actual person (or pet).
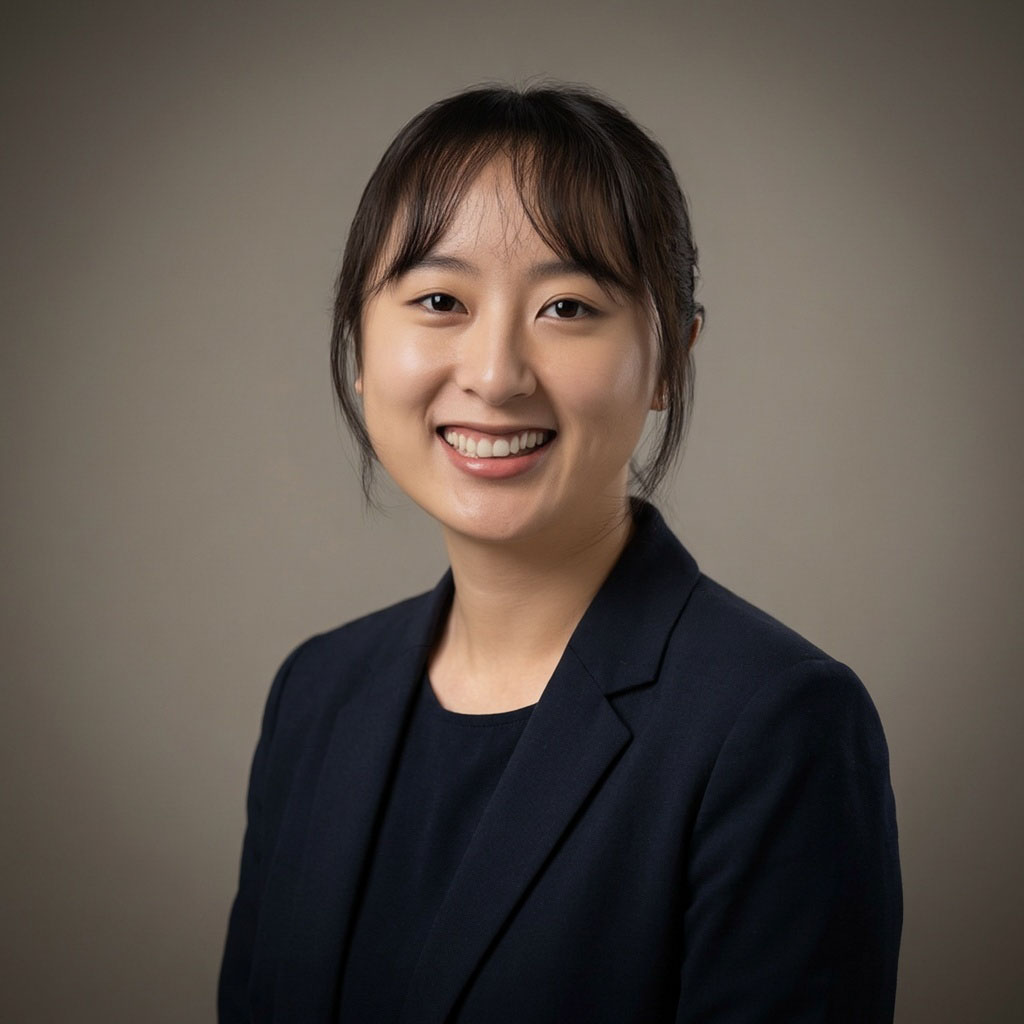
**When to use it**: professional headshots, holiday cards and family portraits, profile pictures in any setting or style,
couple and group photos where everyone doesn't need to be in the same room — any scenario where you need a photo-realistic image of specific people.
**How profiles help**: the generated person matches the trained profile's appearance -- face shape, features, hair, and
skin tone are all preserved. Reference profiles directly in the prompt with `[[profile_id]]` syntax.
**Example request body**:
```json theme={null}
{
"prompt": "A professional headshot of [[abc123]] in a modern office",
"base_model": "nb2", # Optional, defaults to "nb2" (Nano Banana 2)
"num_output_images": 4,
"output_format": "jpg"
}
```
Generation is non-deterministic — set `num_output_images` to 2–4 and let the user pick the best result.
The `/generate` endpoint does not accept `images` or `profile_ids`. Reference profiles in the prompt with
`[[profile_id]]` syntax instead. If you need to transform an existing photo, use `/edit`.
***
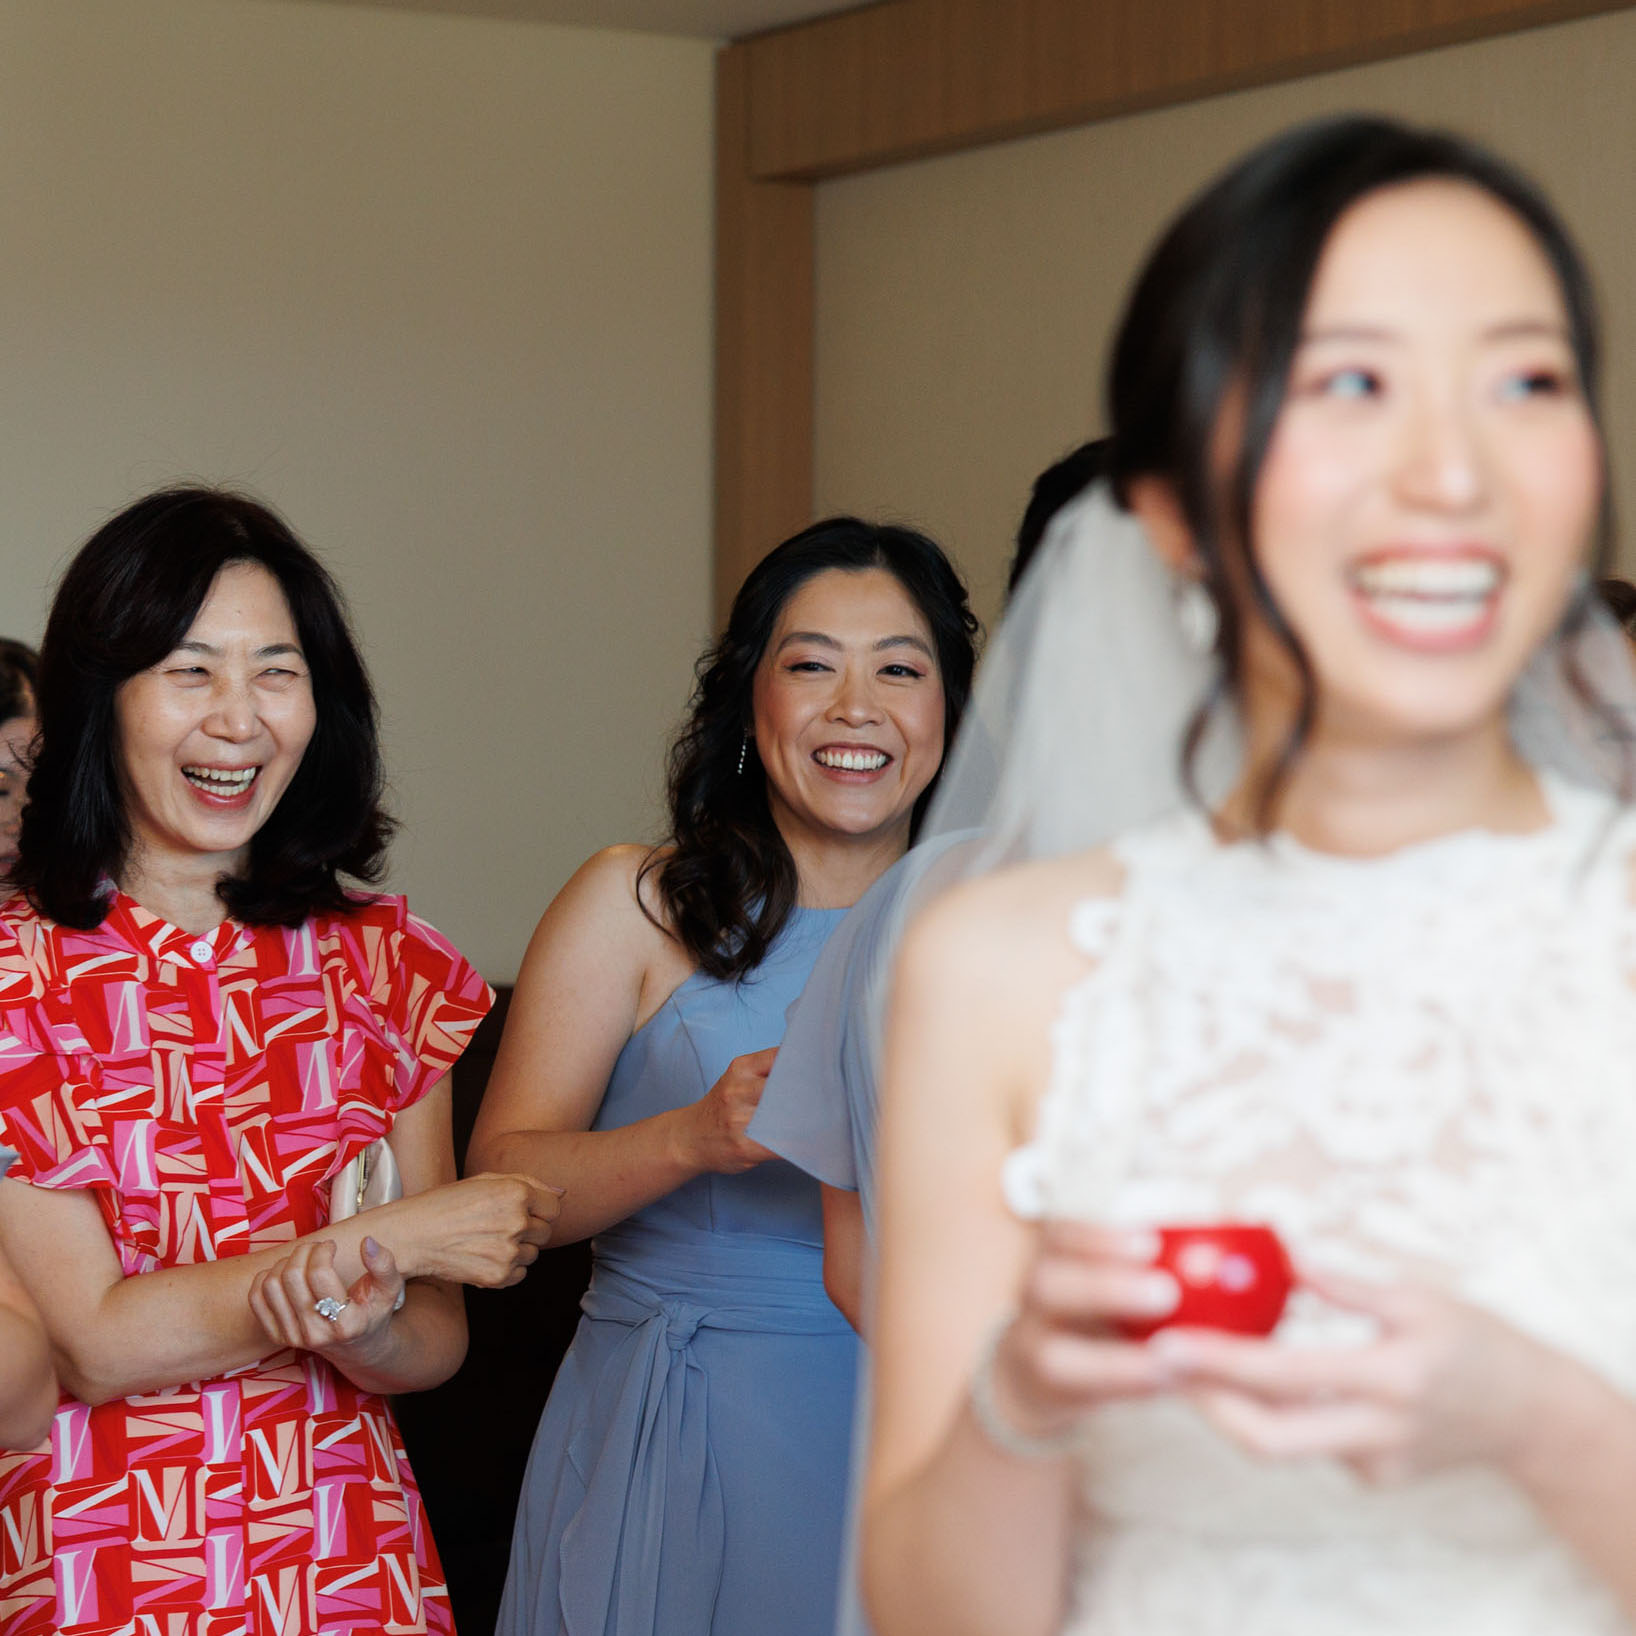
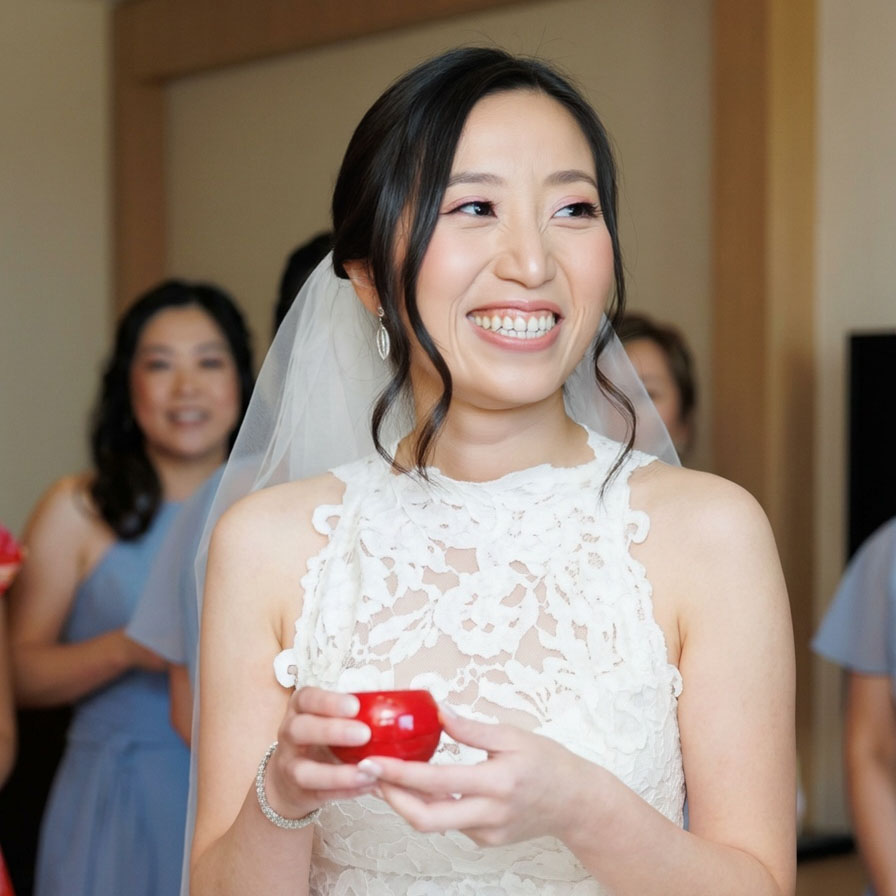
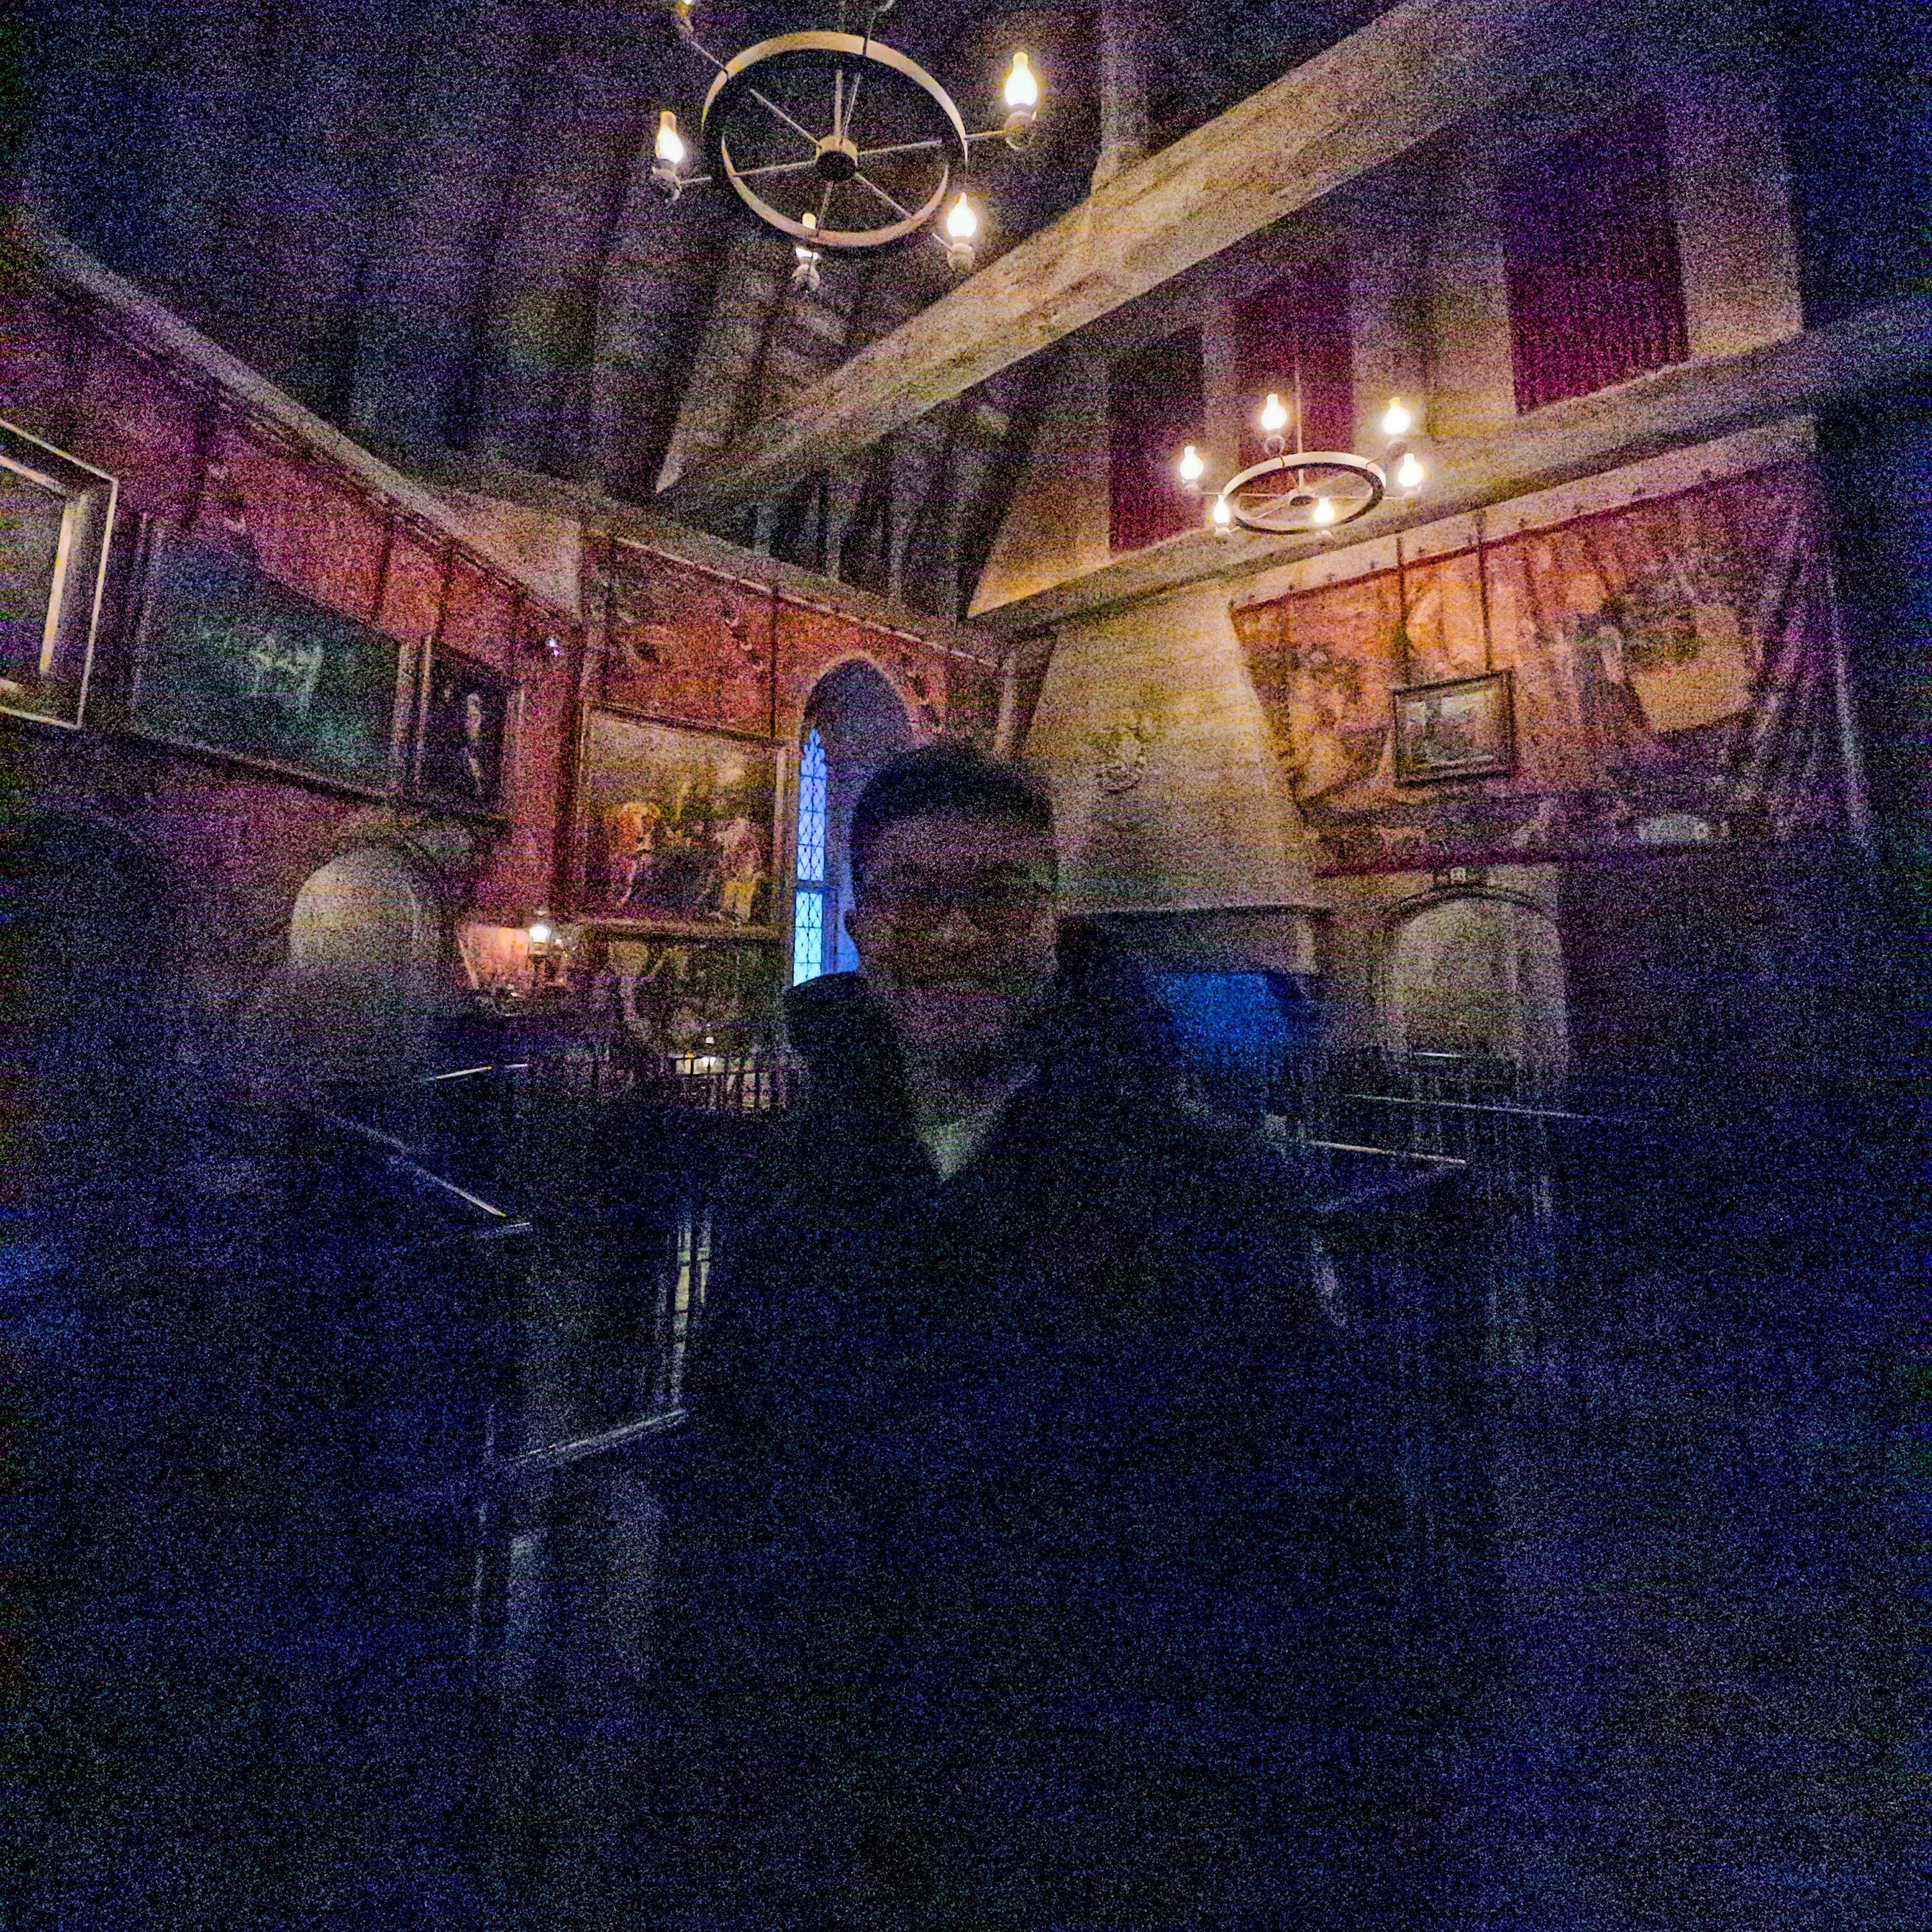
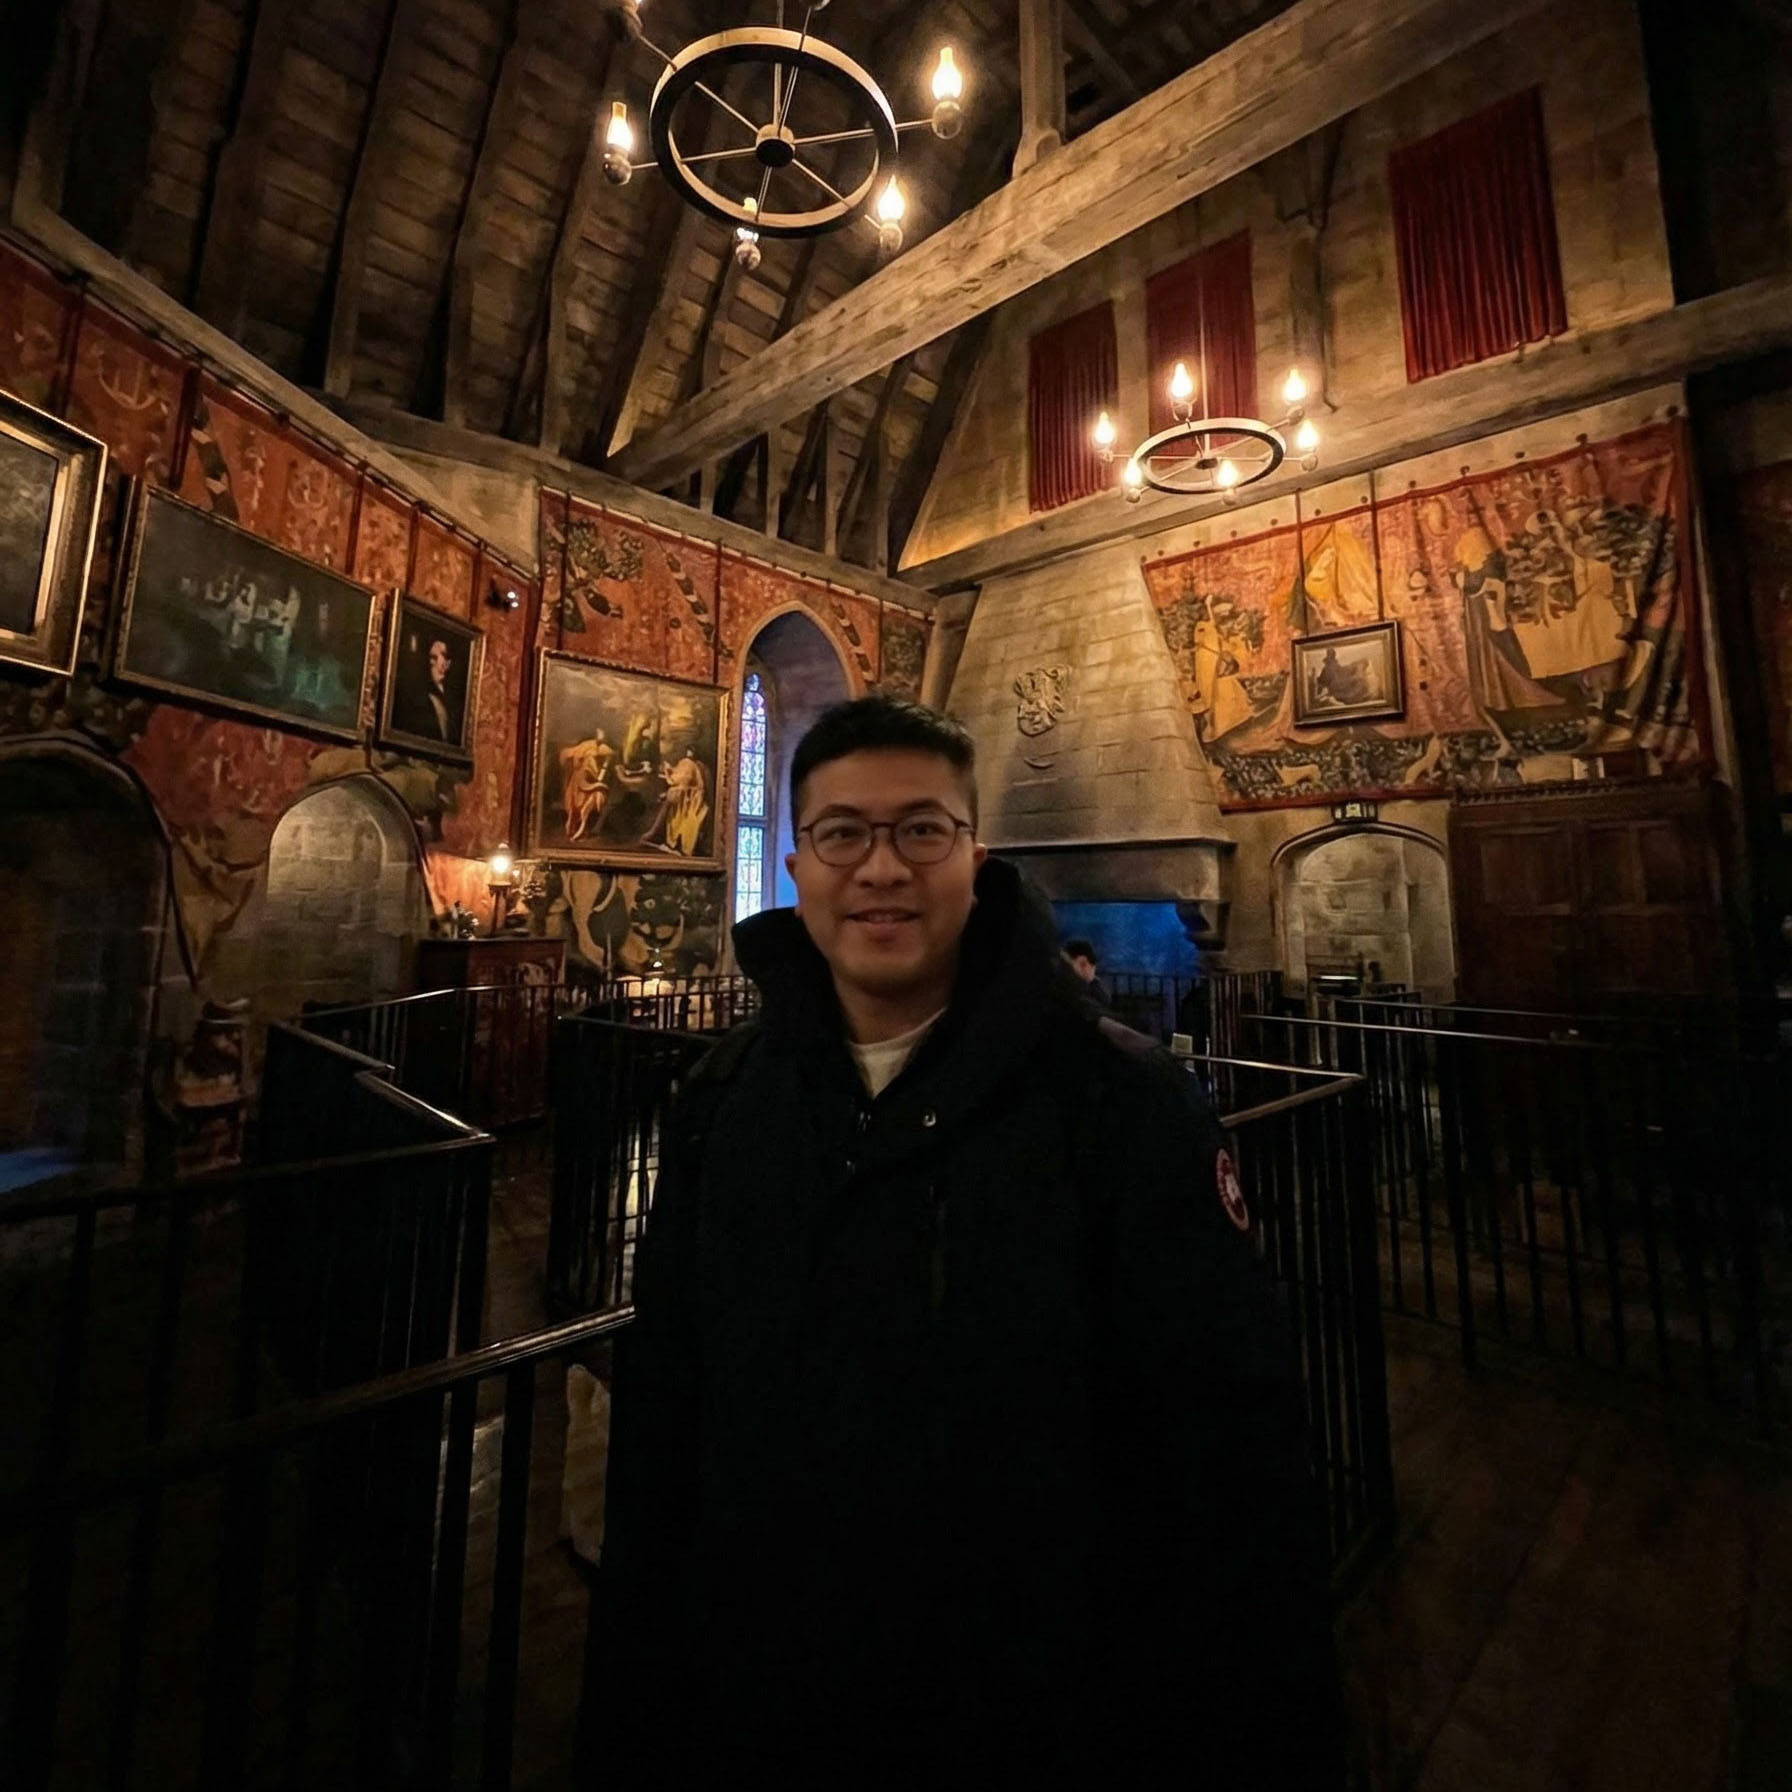
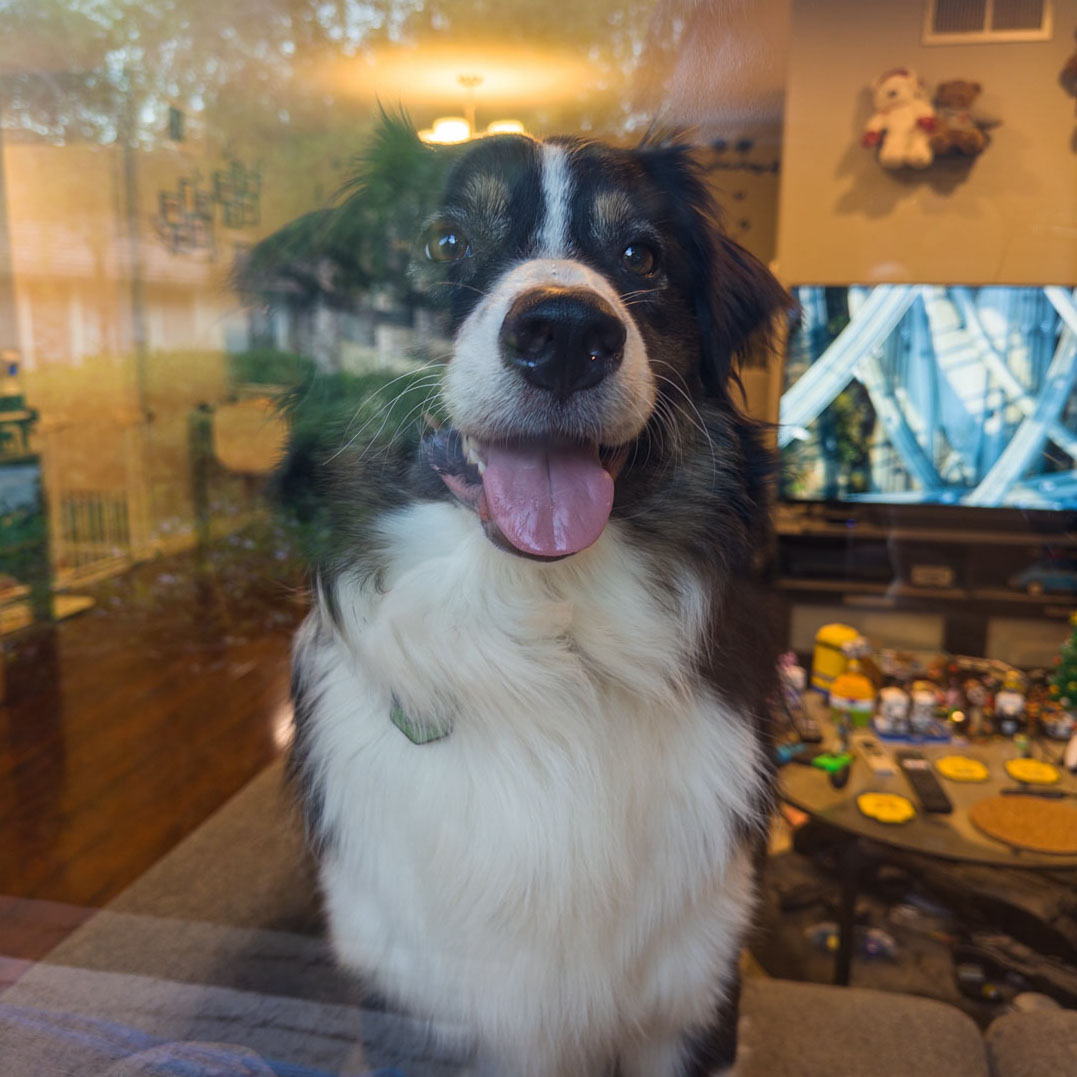
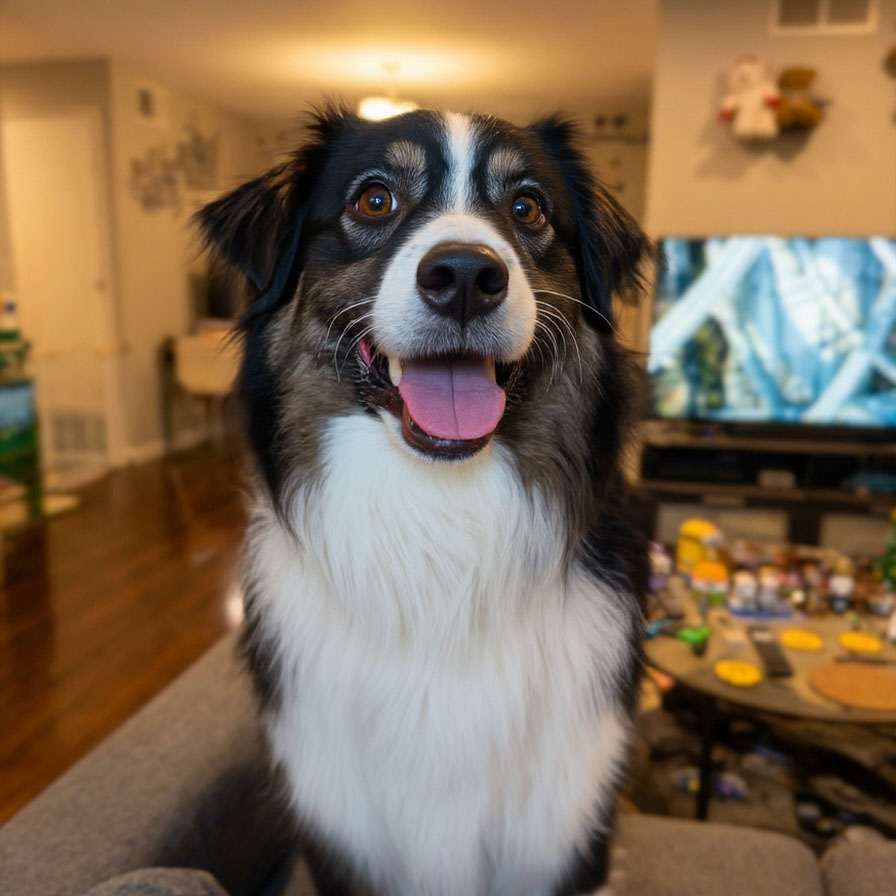
## Enhance -- automatic quality improvement
The `/enhance` endpoint improves a photo automatically -- no text prompt, no parameters to tune. Unlike most AI image
services, Phota infers all enhancement parameters on its own: lighting, sharpness, color balance, and overall quality.
**When to use it**: photos taken in poor lighting, blurry or noisy images, photos with compression artifacts — any photo where quality fell short.
**How profiles help**: when profile IDs are provided, enhancement preserves and can improve the rendering of known faces
in the photo.
**Example request body**:
```json theme={null}
{
"image": "https://example.com/photo.jpg",
"profile_ids": ["abc123"],
"num_output_images": 2,
"output_format": "jpg"
}
```
***
## Remix -- restyle with a reference image
The `/remix` endpoint takes an input image (the content) and a reference image (the style), and produces your photo
rendered in the reference's look — lighting, palette, mood, and artistic treatment. No prompt needed, though an
optional `prompt` can steer the result (second slide).
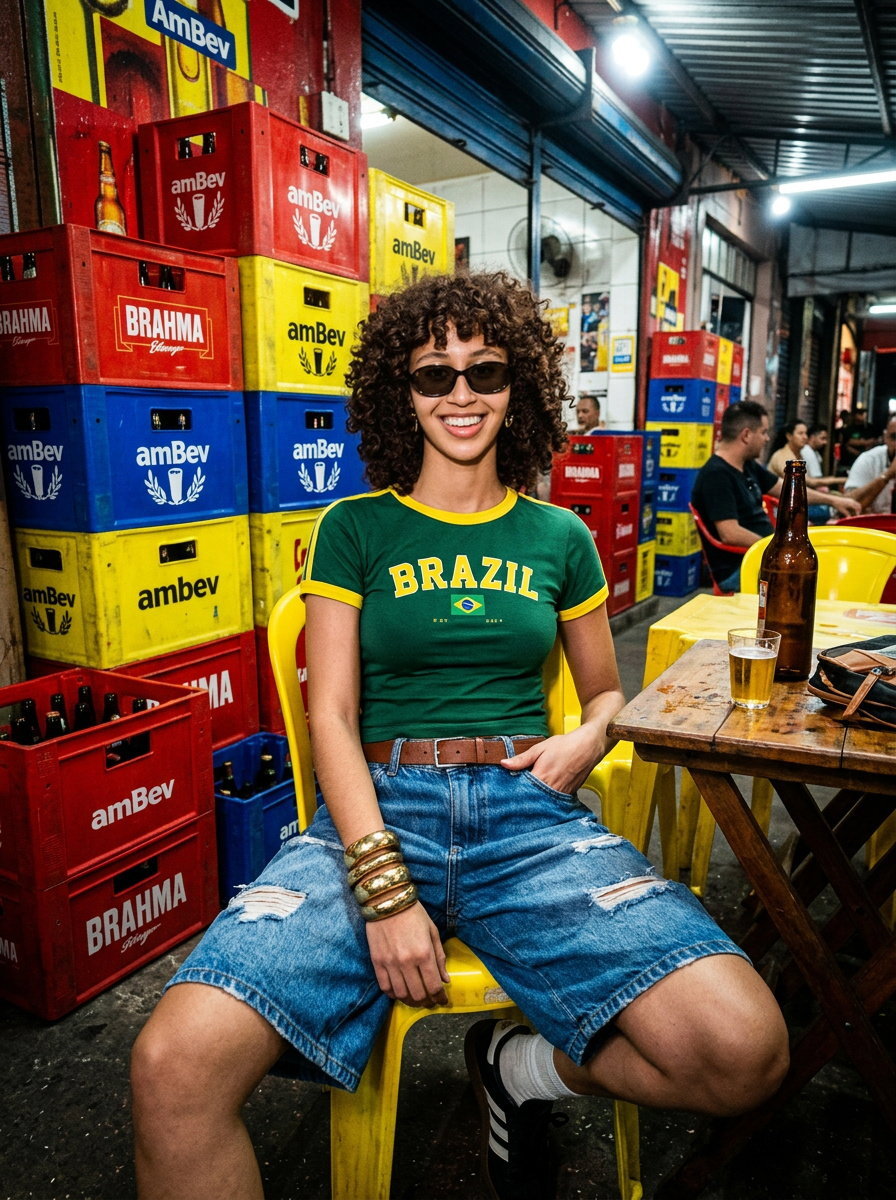
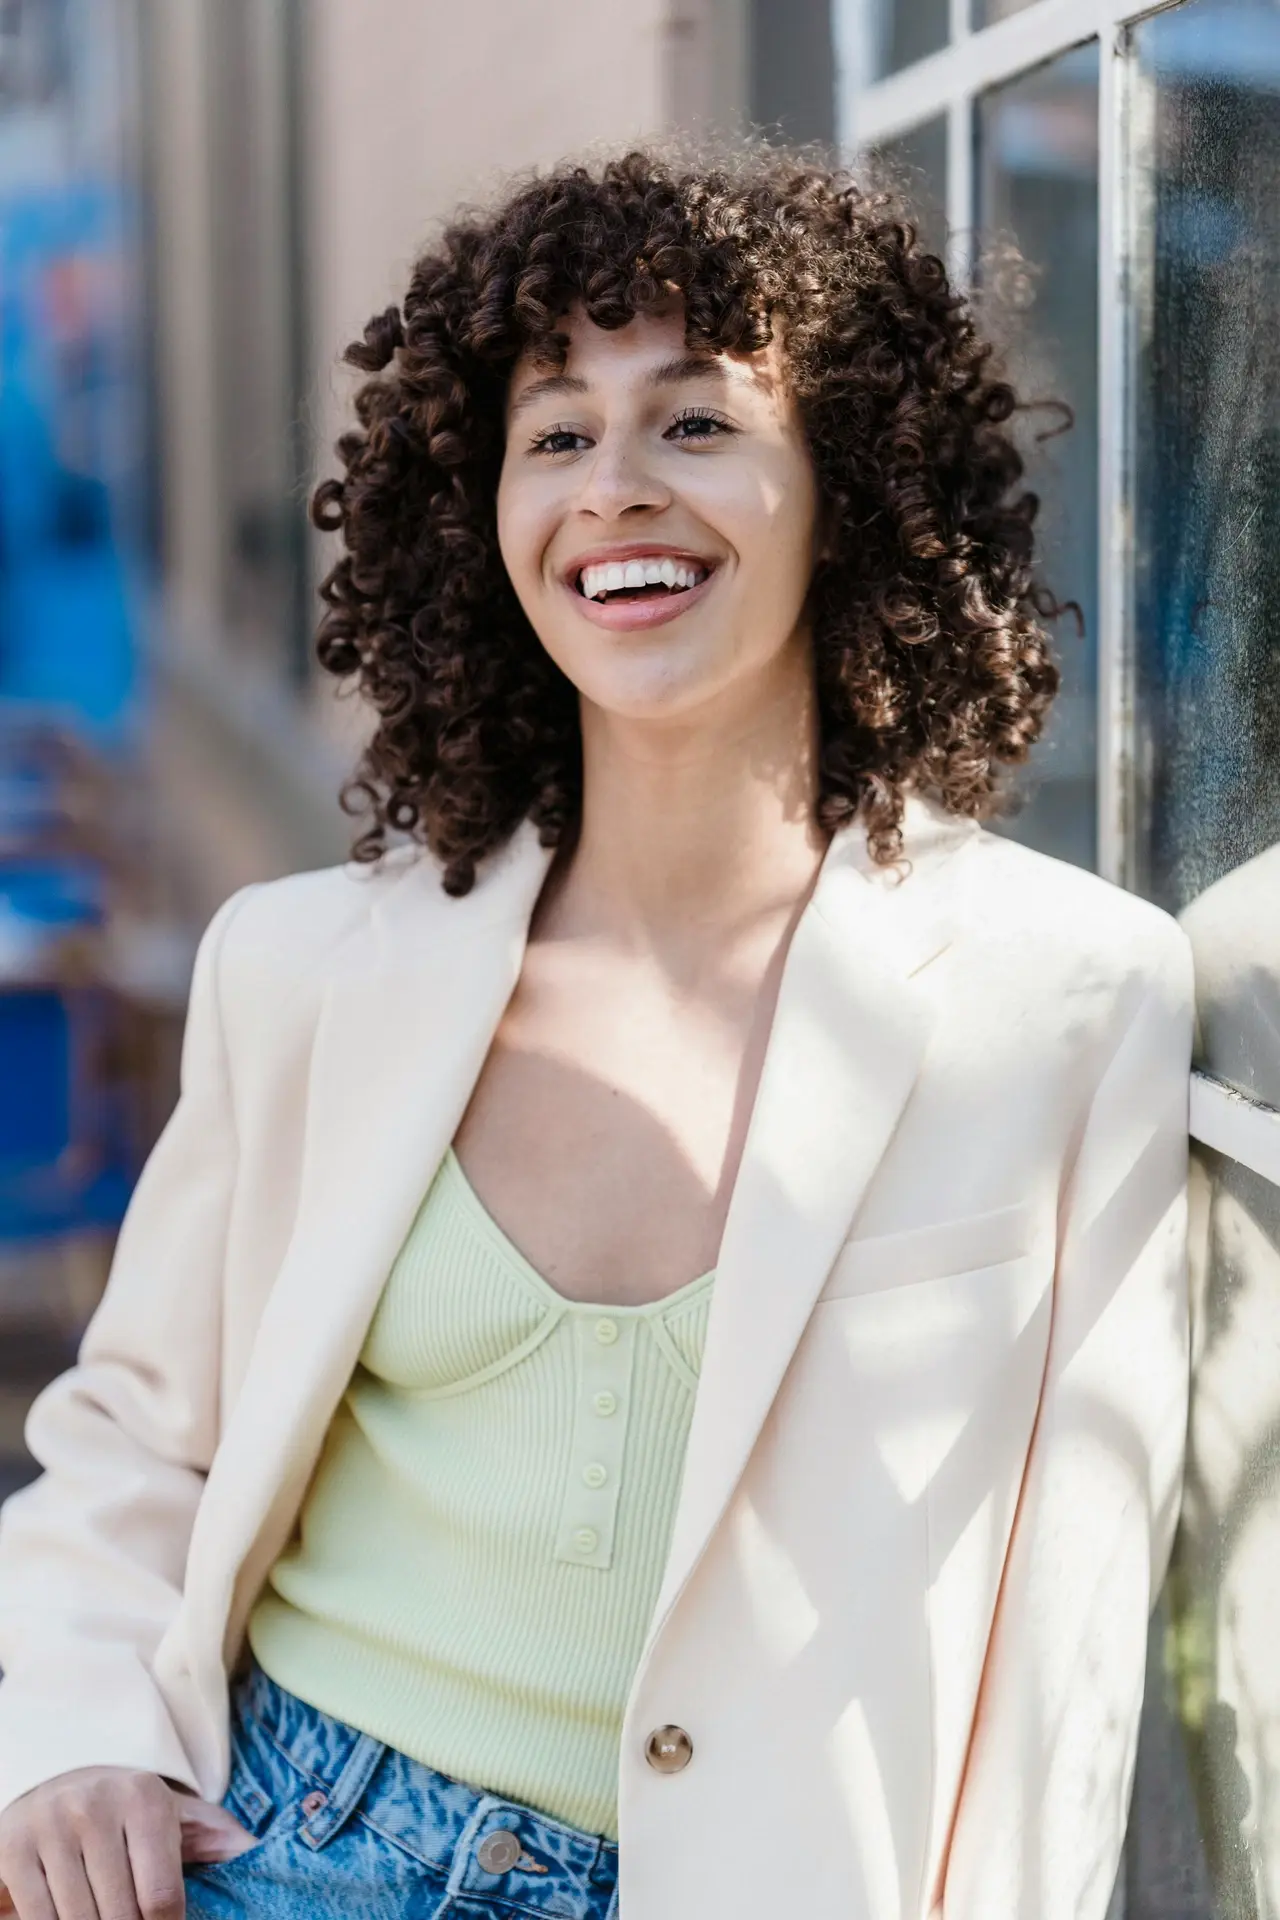 Input
Input
+
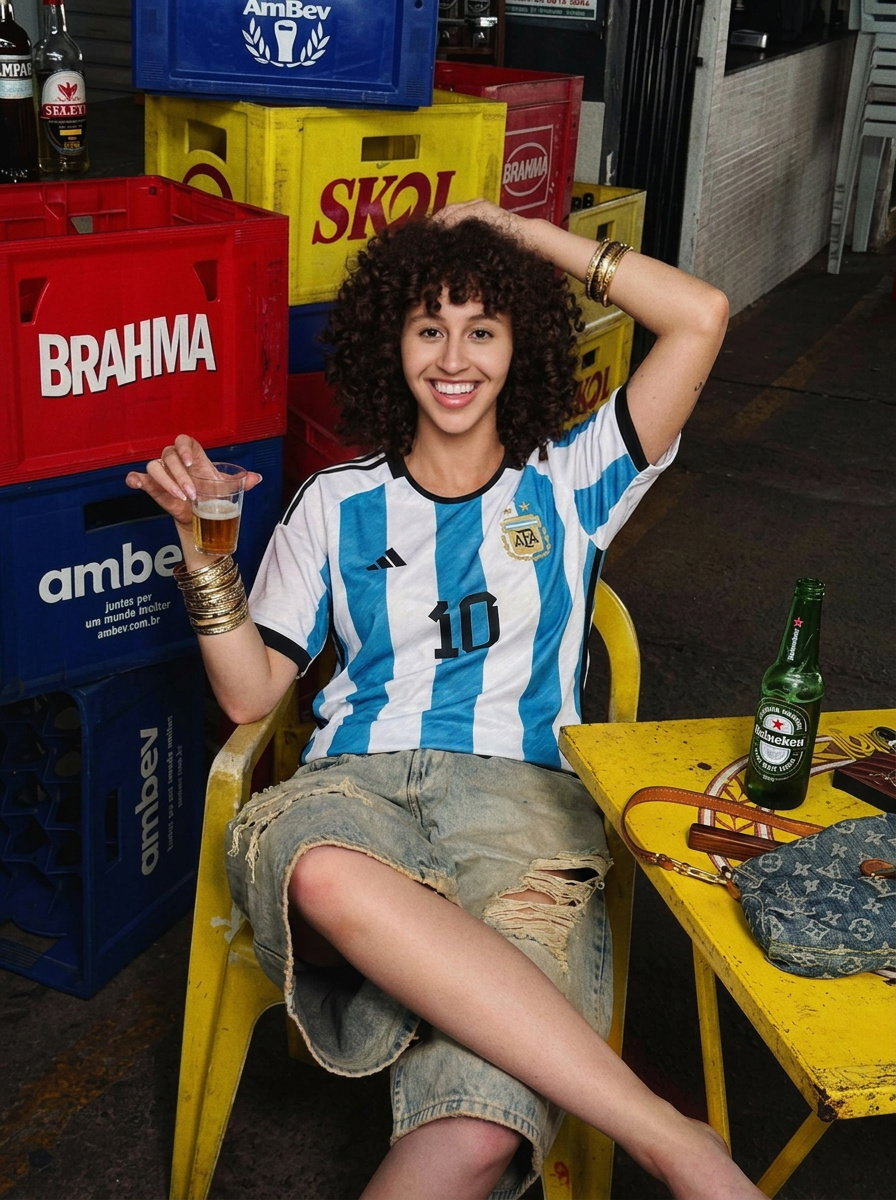
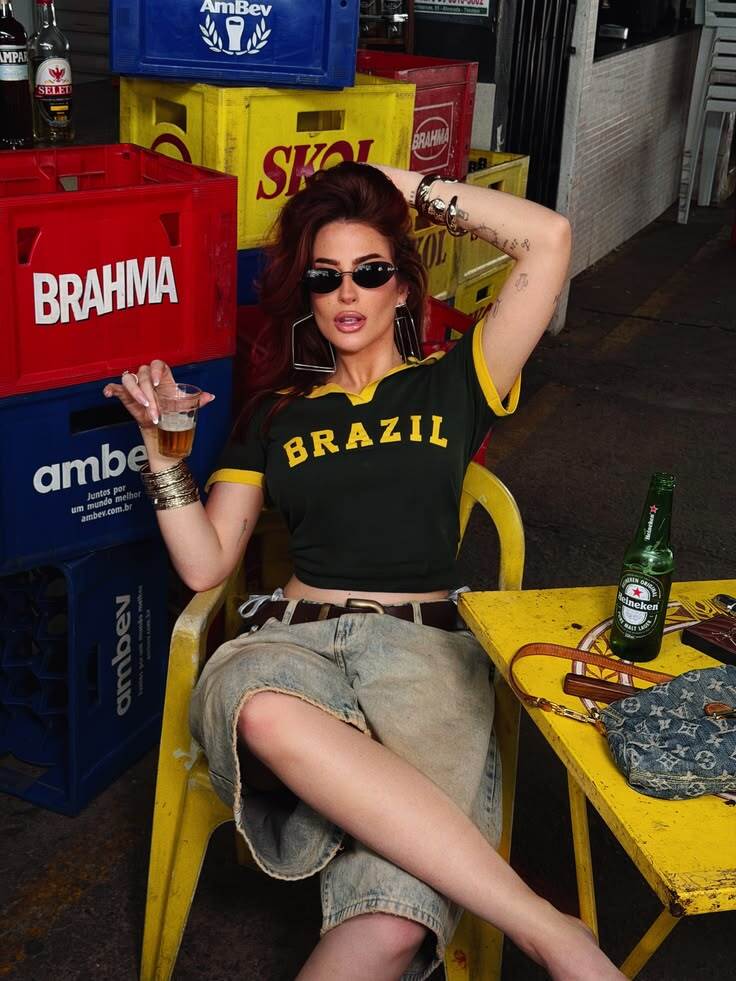 Reference
=
**When to use it**: applying a brand's visual style to user photos, themed photo features (film looks, editorial
styles, seasonal treatments), matching new shots to an existing campaign's aesthetic.
**How profiles help**: pass profile IDs in `profile_ids` and recognized people keep their real likeness through the
restyle.
**Example request body**:
```json theme={null}
{
"input_image": "https://example.com/photo.jpg",
"reference_image": "https://example.com/reference.jpg",
"profile_ids": ["abc123"],
"num_output_images": 2,
"output_format": "jpg",
"response_mode": "urls"
}
```
See the [Remix guide](/guides/remix) for the full walkthrough.
***
## Next steps
Learn how to create and manage profiles for identity preservation.
Walk through the full workflow with code examples.
Explore the full endpoint documentation.
 Before
 After
After
 Before
 After
After
 Before
 After
After
 Phota
Phota
 Phota
Phota
 Phota
Phota
 Before
 After
After
 Before
 After
After
 Before
 After
After
 Output
 Output